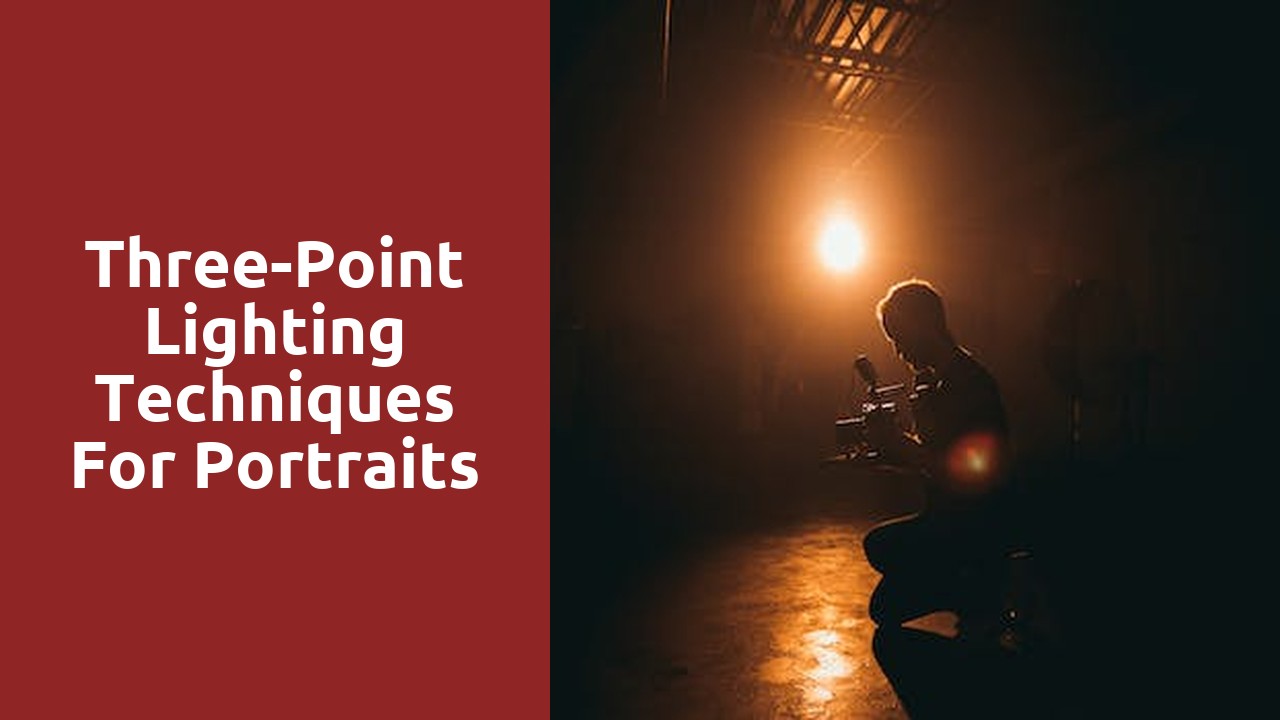
Three-Point Lighting Techniques for Portraits
Understanding the Basics of Portrait Lighting
Portrait lighting is a crucial element in capturing captivating and visually appealing photographs. It is not solely about illuminating the subject's face but also about creating the desired mood and highlighting their unique features. Understanding the basics of portrait lighting involves grasping the fundamental techniques and concepts that contribute to achieving professional-looking portraits.
One vital aspect to consider is the direction of the light source. The angle at which the light falls on the subject can dramatically affect the overall appearance of the portrait. For instance, front lighting, where the light source is directly in front of the subject, produces a well-balanced illumination and minimizes shadows. On the other hand, side lighting, where the light source is positioned to the side of the subject, creates more depth and can emphasize texture and contours. Backlighting, where the light is positioned behind the subject, can create a halo effect or a rim of light, adding a sense of drama and separation from the background.
The Key Light: Shaping the Subject's Features
The key light plays a crucial role in photography and cinematography, as it helps shape the subject's features. By positioning the key light strategically, the photographer or cinematographer can create depth and dimensionality, highlighting the subject's best features while minimizing any undesired shadows. Whether it's a portrait session or a film set, understanding how to use the key light effectively can make all the difference in achieving the desired look and feel.
One important factor to consider when using the key light is the angle at which it is placed in relation to the subject. By experimenting with different angles, photographers and cinematographers can manipulate the subject's features and create interesting shadows and highlights. For example, placing the key light at a 45-degree angle can create a more dramatic look with defined shadows, while positioning it directly in front of the subject can result in a more evenly lit and flattering portrayal. Ultimately, the key light gives creative control over how the subject's features are emphasized or softened, allowing the photographer or cinematographer to shape the overall aesthetic of the image or scene.
The Fill Light: Balancing Shadows and Highlights
The fill light is a crucial tool in photography, allowing photographers to balance the shadows and highlights in their images. It serves as a way to add extra light to areas that are underexposed or too dark. By strategically placing a fill light in relation to the main light source, photographers have better control over the overall lighting in their photographs.
One of the main advantages of using a fill light is that it helps to reduce the contrast between the shadows and highlights in a scene. This can be particularly useful in situations where the dynamic range of the subject is too wide for the camera to capture properly. By adding a fill light, photographers can bring out more details in the shadows without overexposing the highlights. This creates a more balanced and visually appealing image that accurately represents the scene as the photographer intended.
Creating Dimension with the Backlight
To add depth and dimension to your photographs, utilizing the backlighting technique can produce breathtaking results. Backlighting refers to positioning your subject directly in front of a light source, with the light shining from behind. This technique creates a captivating effect by illuminating the subject from behind and creating a beautiful halo-like glow around the edges.
One of the key benefits of backlighting is the way it can emphasize the outline and shape of your subject. With the light shining through from behind, the edges of your subject become highlighted, bringing attention to the finer details and contours. This can be particularly effective when photographing subjects with interesting shapes or intricate textures, as the backlighting will enhance their uniqueness and create an almost ethereal quality. By experimenting with different angles and perspectives, you can further accentuate the dimensionality of your subjects, resulting in stunning visuals that truly stand out.
Utilizing Light Modifiers for Added Depth and Texture
The use of light modifiers in photography can greatly enhance the depth and texture of an image. By strategically placing diffusers, reflectors, and grids, photographers can manipulate the light to create more visually interesting scenes. Diffusers, such as softboxes or umbrellas, soften harsh light and create a more flattering and gentle effect on the subject. This helps to reduce shadows and create a more even and diffused light across the scene. Reflectors, on the other hand, bounce light back onto the subject, filling in shadows and adding a subtle glow. This technique can be particularly effective when photographing portraits or still life subjects, as it adds dimension and prevents harsh shadows from obscuring the finer details.
Grids are another useful light modifier that can be employed to add texture to an image. By placing a grid over the light source, photographers can control and direct the light, resulting in a more dramatic and textured effect. Grids are often used to create patterns and add depth to a composition, especially when photographing subjects with intricate details or textures. The controlled light helps to emphasize the subject's features and creates a more visually engaging image. Whether it's capturing the delicate lines of a flower petal or the intricate patterns in a piece of architecture, light modifiers can be an invaluable tool to enhance the depth and texture in photographs, creating stunning and captivating images that leave a lasting impression.
Exploring Different Light Sources for Portraits
When it comes to capturing stunning portraits, the choice of light source plays a pivotal role in setting the mood and highlighting the subject's features. While natural sunlight is often the go-to option for many photographers, artificial light sources can also offer unique and creative possibilities. One popular option is using a softbox, which diffuses the light and creates a soft and flattering glow on the subject's face. This type of light source is commonly used in portrait studios and allows for precise control over the direction and intensity of the light. Additionally, continuous LED lights have gained popularity in recent years due to their versatility and ease of use. These lights provide a constant and steady source of illumination, making them ideal for capturing both still images and dynamic video footage.
Related Links
Three-Point Lighting for Product VideosUsing Three-Point Lighting for Interviews